
Nested KVM / QEMU / libvirt Virtualization on Ubuntu
Running nested Ubuntu VMs on KVM / QEMU / libvirt

Status: 1 May 2020 - Verified with Ubuntu 20.04 & Layer 2 Win10 tested & Layer 0, 1 & 2 Ubuntu 21.04 tested (Apr 2021)
Nested virtualisation is simply when you have Virtual Machines running within other Virtual Machines. In the typical scenario there are 3 layers of virtualisation:
- Layer 0 - the hypervisor layer on the physical host
- Layer 1 - the guest VM on top of Layer 0 hypervisor, which in turn acts as host for other virtual machines
- Layer 2 - the guest VM's running within the Layer 1 Virtual Machines
In this example each of these layers is provided by Ubuntu 20.04 OS with KVM / QEMU / libvirt based virtualisation.
Why would you want to do this, as each layer of virtualisation result in a performance penalty ?
There are two main drivers for doing this:
- Security Partitioning / Ownership - provide isolated VM that can allow for hosting of multi-machine application with secure partitioning and without complexity of full virtual hosting capabilities of OpenStack
- Development / Testing - allow development of testing of VM hosting control and management functions without having to use dedicated hardware
In my case I wanted to test the collectd "virt" plugin which runs on VM host and collects metrics data on the guest VMs. Doing this testing via Layer 1 VM provides a simple and easily managed environment.
Summary Hosting Configuration
I am keeping this example very simple as this should work without any special configuration and if it does not work on first attempt then it is likely due to bugs on the OS / Virtualization software and require expertise in both underlying technology and in problem diagnosis.
- Precondiation Checks - ensure your hardware has required support
- Install Layer 0 Machine - Ubuntu 20.04 Desktop + KVM / QEMU & libvirt tools
- Create Layer 1 Machine - via Virtual Machine Manager
- Create Layer 2 Machine within Layer 1 Machine - via Virtual Machine Manager (again)
- Run Layer 2 Machine
NOTE: I have re-tested using Ubuntu 21.04 (Hirsute Hippo) and using all 21.04 machines (on Intel server) and this works as per these instructions.
Pre-condition Checks
To support nested virtualisation requires: Intel VT-x vmx feature or AMD AMD-V svm feature.
To check if this is available you can do a grep (-c for count) on /proc/cpuinfo. The count return will be either:
- 0 - not supported
- number of cores - if supported
$ cat /proc/cpuinfo | grep -c vmx
64

-- or for AMD --

$ cat /proc/cpuinfo | grep -c svm
16
Having verified that nesting is supported you need to check if it is enabled.
This is via:
- /sys/module/kvm_intel/parameters/nested - Intel or
- /sys/module/kvm_amd/parameters/nested - AMD
It is enabled via /etc/modprobe.d/YOUR_CONF.conf file.
$ cat /sys/module/kvm_intel/parameters/nested
Y

-- or for AMD --

$ cat /sys/module/kvm_amd/parameters/nested
Y
If it is not enabled then you can configure by adding your configuration file. The name if the file is not important but it must have .conf suffix and be in the /etc/modprobe.d directory. Here is an example:
$ cat /etc/modprobe.d/qemu-system-x86.conf
options kvm_intel nested=1

-- or for AMD --

$ cat /etc/modprobe.d/qemu-system-x86.conf
options kvm_amd nested=1
Reboot your machine after adding configuration if it was not already there.
Finally you can check your machine is all set up correctly by doing libvirt check:
$ virt-host-validate
  QEMU: Checking for hardware virtualization                                 : PASS
  QEMU: Checking if device /dev/kvm exists                                   : PASS
  QEMU: Checking if device /dev/kvm is accessible                            : PASS
  QEMU: Checking if device /dev/vhost-net exists                             : PASS
  QEMU: Checking if device /dev/net/tun exists                               : PASS
  QEMU: Checking for cgroup 'cpu' controller support                         : PASS
  QEMU: Checking for cgroup 'cpuacct' controller support                     : PASS
  QEMU: Checking for cgroup 'cpuset' controller support                      : PASS
  QEMU: Checking for cgroup 'memory' controller support                      : PASS
  QEMU: Checking for cgroup 'devices' controller support                     : PASS
  QEMU: Checking for cgroup 'blkio' controller support                       : PASS
  QEMU: Checking for device assignment IOMMU support                         : PASS
  QEMU: Checking if IOMMU is enabled by kernel                               : PASS
   LXC: Checking for Linux >= 2.6.26                                         : PASS
   LXC: Checking for namespace ipc                                           : PASS
   LXC: Checking for namespace mnt                                           : PASS
   LXC: Checking for namespace pid                                           : PASS
   LXC: Checking for namespace uts                                           : PASS
   LXC: Checking for namespace net                                           : PASS
   LXC: Checking for namespace user                                          : PASS
   LXC: Checking for cgroup 'cpu' controller support                         : PASS
   LXC: Checking for cgroup 'cpuacct' controller support                     : PASS
   LXC: Checking for cgroup 'cpuset' controller support                      : PASS
   LXC: Checking for cgroup 'memory' controller support                      : PASS
   LXC: Checking for cgroup 'devices' controller support                     : PASS
   LXC: Checking for cgroup 'freezer' controller support                     : PASS
   LXC: Checking for cgroup 'blkio' controller support                       : PASS
   LXC: Checking if device /sys/fs/fuse/connections exists                   : PASS
NOTE 1: On some machines you might also have to enable virtualization via BIOS configuration. If you believe your machine should support virtulisation (based on CPU type) but isn't then check your BIOS setting by doing power up boot and going into BIOS configuation.
NOTE 2: The pre-condition checks should be done on both Layer 0 & Layer 1 machines. And all additional layers of virtulisation hosting that you might want to add...
Layer 0 - Ubuntu Install
To keep it very simple install Layer 0 as Ubuntu Desktop, then use Virt Manager as UI to create Layer 1 machine.
Set up base Ubuntu Desktop and reboot the machine.
Configure network via NetPlan so you have bridge available for use by virtual machines.
Install: QEMU, OVMF UEFI firmware & libvirt:
$ sudo apt install libvirt-clients libvirt-daemon-system ovmf virt-manager qemu-system-x86Reboot and run "Pre-condition Checks" as per section above to verify that nested virtualisation support is working.
On Layer 0 machine you might want to enable IOMMU for PCIe pass-through. Enabling PCI Pass-through requires updated grub boot configuration, here are KVM Kernal Configuration parameters that are relevant:
-- edit grub defaults and as per direction ensure you do sudo update-grub afterward

> cat /etc/default/grub
# If you change this file, run 'update-grub' afterwards to update
# /boot/grub/grub.cfg.
# For full documentation of the options in this file, see:
#   info -f grub -n 'Simple configuration'
...
...
GRUB_CMDLINE_LINUX_DEFAULT="iommu=1 intel_iommu=on ipv6.disable=1"
GRUB_CMDLINE_LINUX="ipv6.disable=1"
..
-- NOTE: the iommu=1 intel_iommu=on are critical if you want to use PCI Pass-through
NOTE: See tip "MacOS on Ubuntu..." for additional details
Layer 1 - Ubuntu Install
Again to keep this very simple just create Layer 1 machine as another Ubuntu Desktop so you can use Virt Manager as UI to create Layer 2 machines.
Using Virt Manager on Layer 0 machine create a new VM with:
- Q35 VM with OVMF
- 4 CPUs , 4096 MB RAM
- 2 x NICs - one for machine access & one for virtual switch
- 40 GB HD - or bigger to allow space for next layer of VMs
- CD-ROM - for Ubuntu boot CD (Desktop)
NOTE: Via Virt Manager UI CPU "Configuration" select "Copy host CPU configuration" as this will allow Layer 1 machine to get vmx/svm nested virtualiation support.
Install and build the VM and the boot machine. On reboot install QEMU, OVMF & libvirt.
$ sudo apt install libvirt-clients libvirt-daemon-system ovmf virt-manager qemu-system-x86Configure Layer 1 VM to enabled nested virtualisation support as outlined in "Pre-condition Checks" section above.
Reboot and validate that nested support is enabled.
Layer 2 - Ubuntu Install
For simplicity again now install Layer 2 as another Ubuntu machine but now as Server.
Using Virt Manager on Layer 1 machine create a new VM with:
- Q35 VM with OVMF
- 2 CPUs , 2048 MB RAM
- 1 x NICs - one for machine access
- 10 GB HD - or bigger depending on need of the VM
- CD-ROM - for Ubuntu boot CD (server)
NOTE: Via Virt Manager UI CPU "Configuration" select "Copy host CPU configuration" as this will allow Layer 1 machine to get vmx/svm nested virtualiation support.
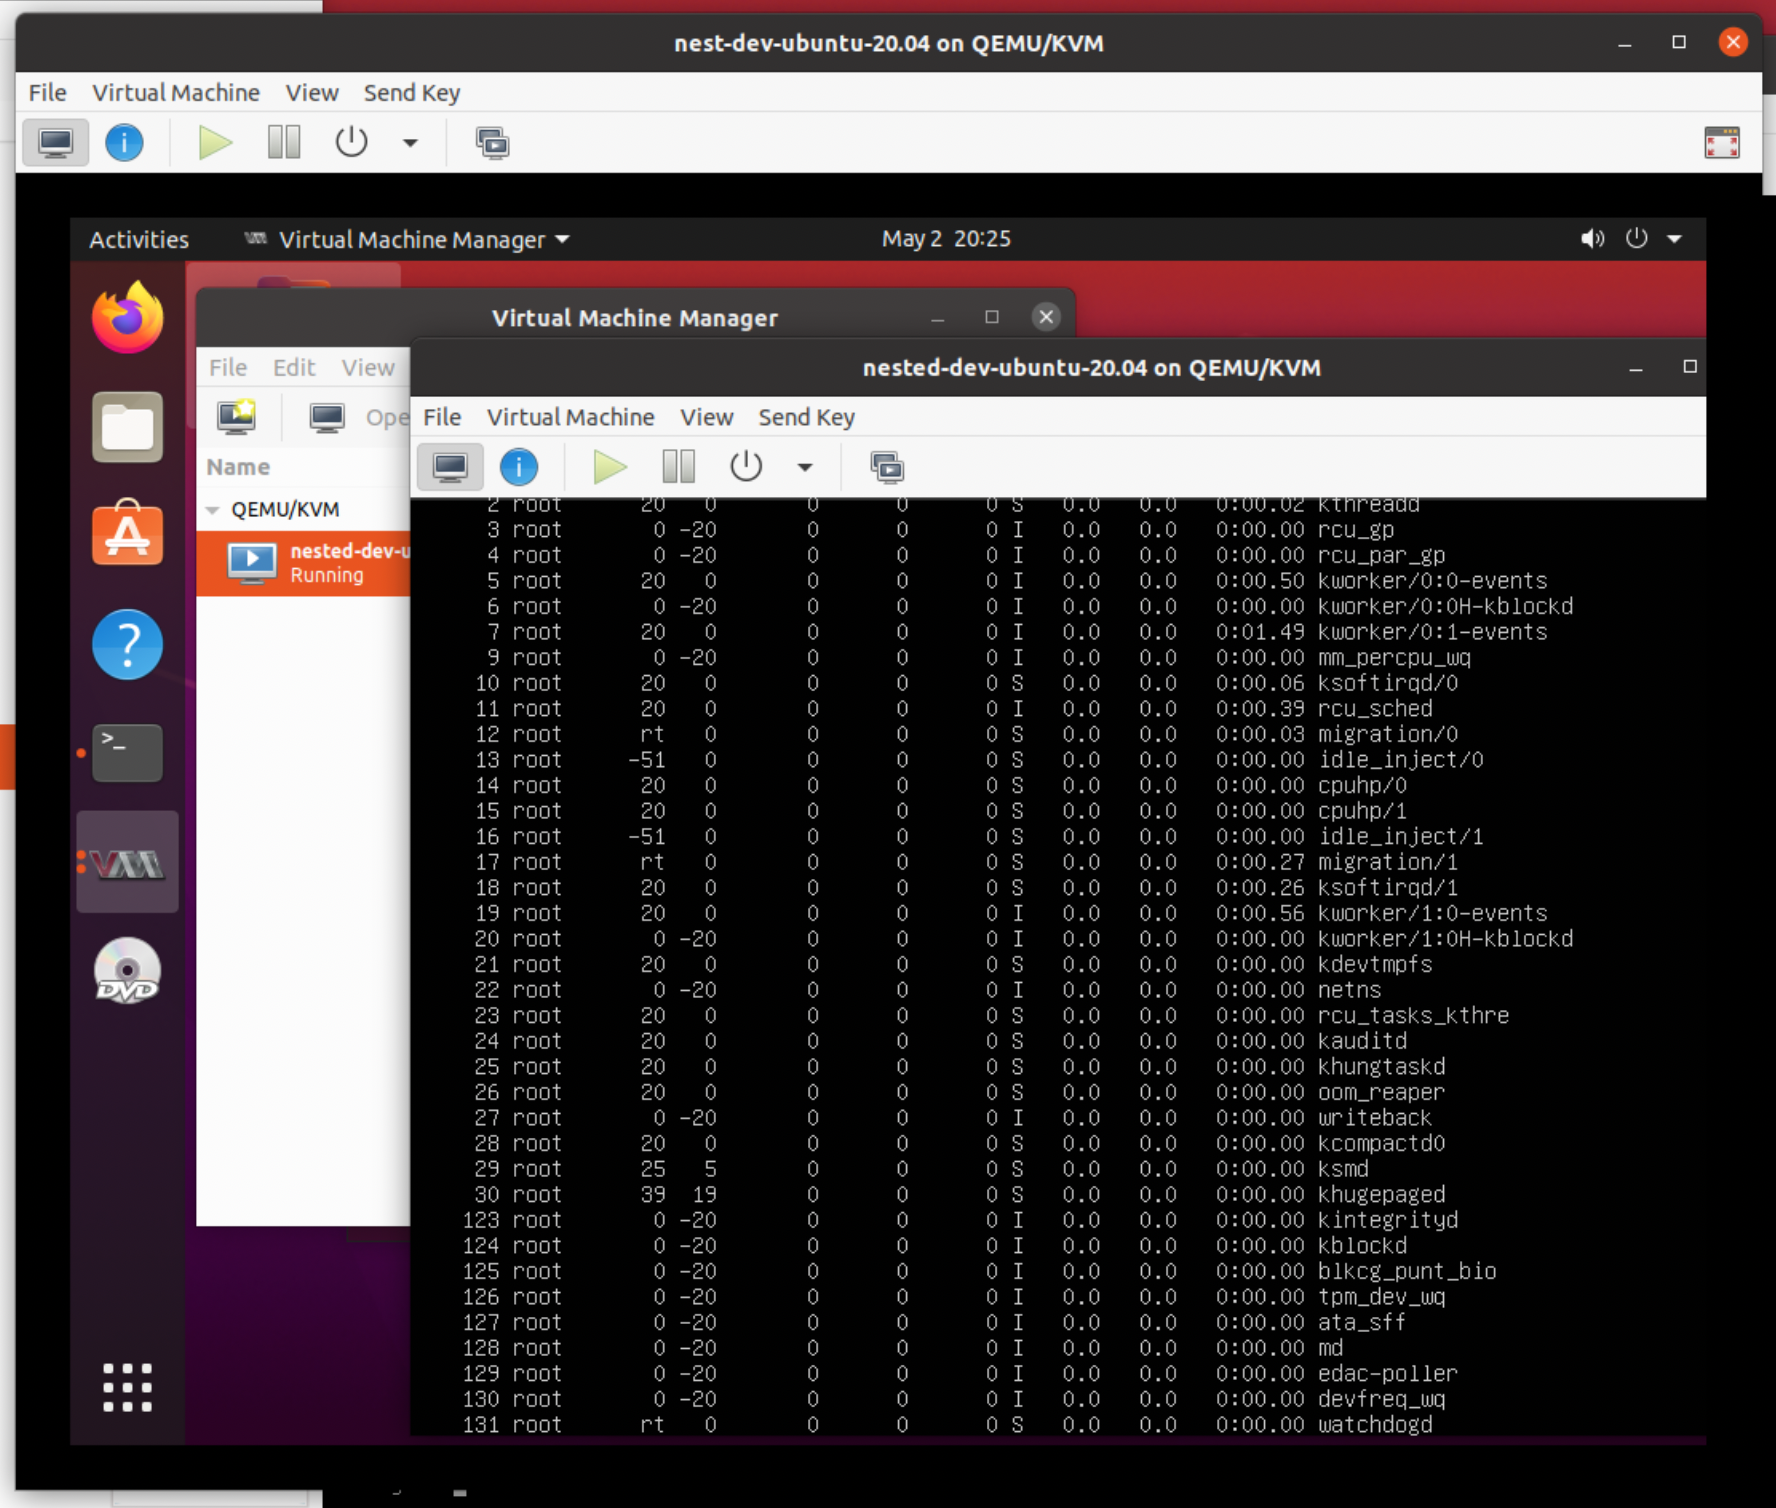
Start up the VM and verify that boot completes and Layer 2 Virtual Machine.
You should now have a working set of nested Ubuntu machines:
Layer 2 - Windows 10 Install
Lucas Rabaça - asked, "Is it possible to have windows on layer 2?" (see comments below).
The answer is yes for Windows 10 (64 bit with UEFI) for which I did a test install. I have not done comprehensive testing with other version of Windows but I expect these should work as well.
The VM setup process using was same as per the Ubuntu Layer 2 case above, but I did not copy the host CPU configuration. So using Virt Manager on Layer 1 machine create a new VM with:
- Q35 VM with OVMF
- 2 CPUs , 4096 MB RAM
- 1 x NICs - one for machine access
- 40 GB HD - or bigger depending on need of the VM
- CD-ROM - for Windows 10 CD
Configure VM for CD boot and press space bar for CD Setup Boot. Machine will reboot after setup completes.
You should now have a working set of nested Windows 10 machine:
Compatibility Testing
I have tested the following combinations of Layer 0, 1 & 2 nested virtualisations.
Layer 0 - Ubuntu 19.10
- Layer 1 - Ubuntu 20.04
- Layer 2 - Ubuntu 20.04
- Result - does not work
Layer 0 - Ubuntu 20.04
- Layer 1 - Ubuntu 20.04 with Q35 v4.0 & v4.2 OVMF guest
- Layer 2 - Ubuntu 20.04 with Q35 v4.2 OVMF guest
- Layer 2 - Ubuntu 18.04 with Q35 v4.2 OVMF guest
- Result - works
Layer 0 - Ubuntu 20.04
- Layer 1 - Ubuntu 18.04 with Q35 v4.0 & v4.2 OVMF guest
- Layer 2 - Ubuntu 18.04 with Q35 v2.11 OVMF guest
- Layer 2 - Ubuntu 19.10 with Q35 v2.11 OVMF guest
- Result - works
Lay 0 - Ubuntu 20.04
- Layer 1 - Ubuntu 19.10 with Q35 v4.2 OVMF guest
- Layer 2 - Ubuntu 19.10 with Q35 v2.11, v3.1 & 4.0 OVMF guest
- Layer 2 - Ubuntu 20.04 with Q35 v4.0 OVMF guest
- Layer 2 - Windows 10 64 bit with Q35 v4.2 OVMF quest
- Result - works
Layer 0 - Ubuntu 21.04
- Layer 1 Ubuntu 21.04 with Q35 V5.2 OVMF guest
- Layer 2 - Ubuntu 21.04 with Q35 v5.2 OVMF quest
References & Links:
See "MacOS on Ubuntu with KVM/QEMU and OVMF/Clover EFI" - for more detailed information on configuring Ubuntu and NetPlan and QEMU to run virtual machines